
Background
SQL Server Management Studio (SSMS) is now a separate installation, so it can be updated without any impact on the SQL Server engine. Updating the newer versions is as easy as you would expect but removing an older SSMS that was included as part of SQL Server requires a little bit of concentration.
Method
It isn’t difficult to remove SSMS 2012 but it is slightly unnerving, because you have to navigate through the uninstall/change wizard. I find it difficult to shake the feeling that I may have made the wrong selection, whereupon a critical part of SQL Server will be removed and I will have to prepare three envelopes.
Watch Out
If you’re using PowerShell within SQL Agent jobs, then you should check for this registry key:
HKEY_LOCAL_MACHINE\SOFTWARE\Microsoft\PowerShell\1\ShellIds\Microsoft.SqlServer.Management.PowerShell.sqlps110\ExecutionPolicy
The uninstallation process also appears to remove that and you may well see error messages from those jobs, along the lines of:
“Cannot process command because of one or more missing mandatory parameters. ExecutionPolicy“
After you have removed SSMS you can re-insert the key and the jobs should then behave as normal.
Launch the Uninstall/Change Wizard
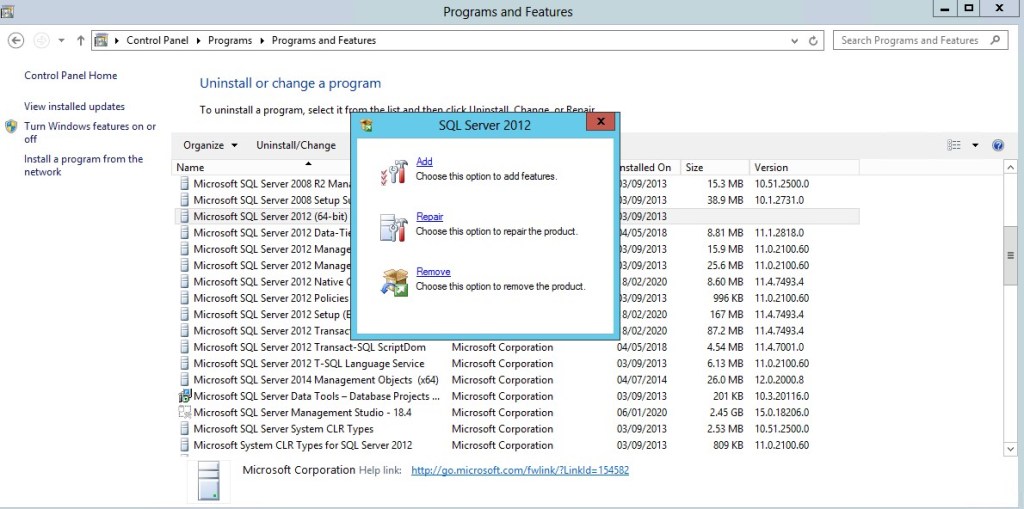
Locate SQL Server, within the Control Panel ‘Uninstall or Change a program’

When the Add/Repair/Remove option appears, select ‘Remove’. Don’t forget that the Wizard will provide a summary of the actions it will take, before it actually executes. So you will have the chance to abandon this, without any impact upon the system.
The Wizard will then take a few seconds to proceed to the next step, display the following message while it does.

After a short while it will execute the support rules check, that you normally see when installing SQL Server.

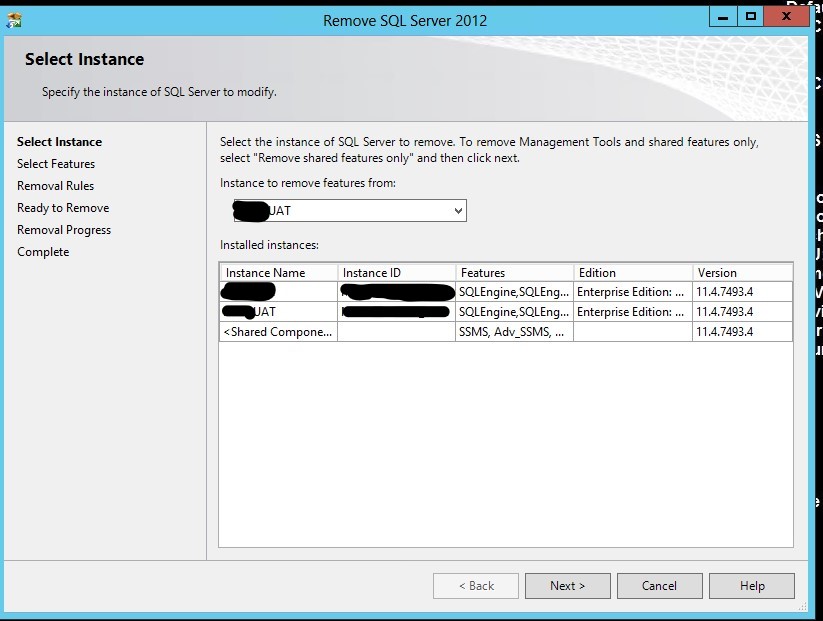
Once completed, the wizard then wants to know which instance you want to process.
When I executed this, I selected an instance. However, there is a ‘Shared Component’ option too, which would have been more suitable. SSMS is a shared component, so the instance that you select is irrelevant – it will be removed from all instances that are listed on this screen.
Having made the selection, the Wizard then shows the components currently installed. We want to remove SSMS, so the option is ‘Management Tools – Basic’. The sub-selection of ‘Management Tools – Complete’ will be selected automatically.

Clicking ‘Next’ will take this Wizard to the summary screen. This is where you have the chance to check what you have requested. Up until this point no action has been taken by the Wizard – it was just requesting information, ready for the removal.
Although the dialog box is entitled ‘Ready to remove SQL Server 2012’, the summary shows that it is really just removing the Management Tools.
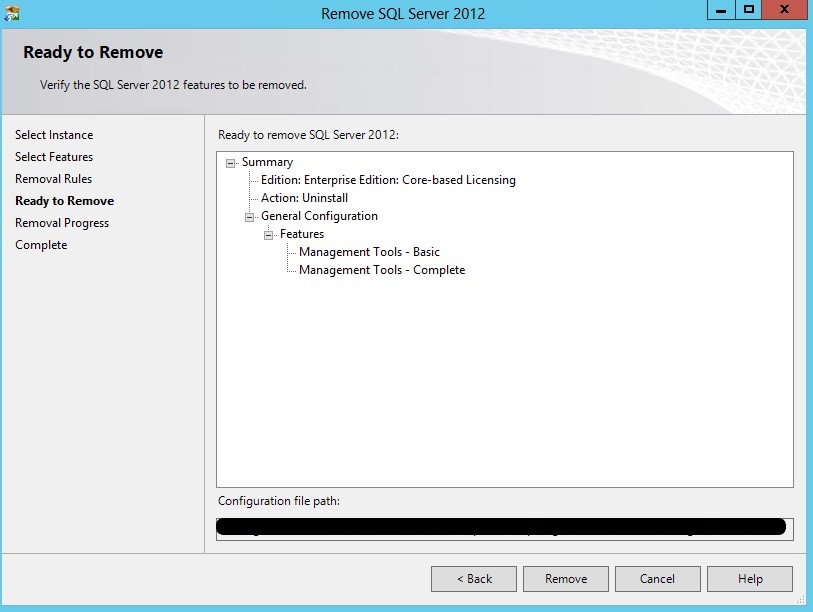
Having checked that the options are correct, click ‘Remove’ to proceed with the removal.
The Wizard then shows the expected removal progress.
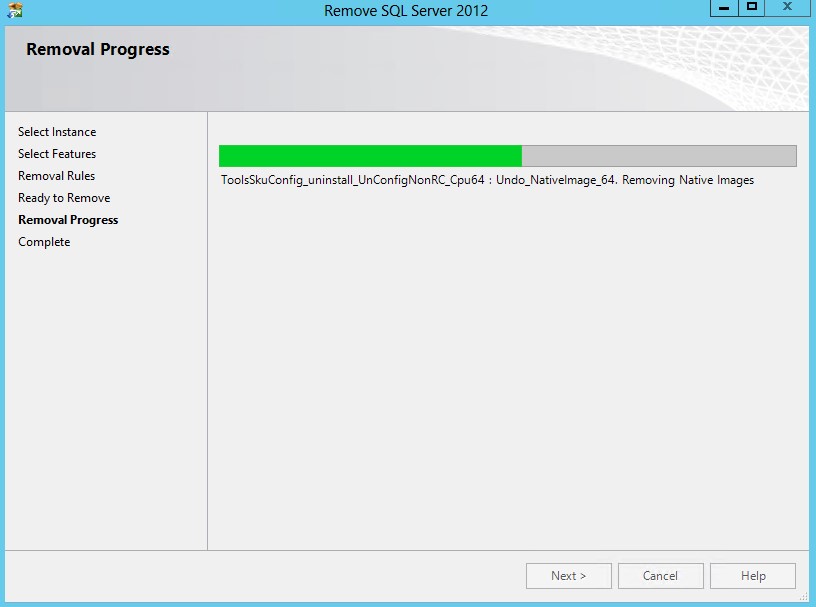
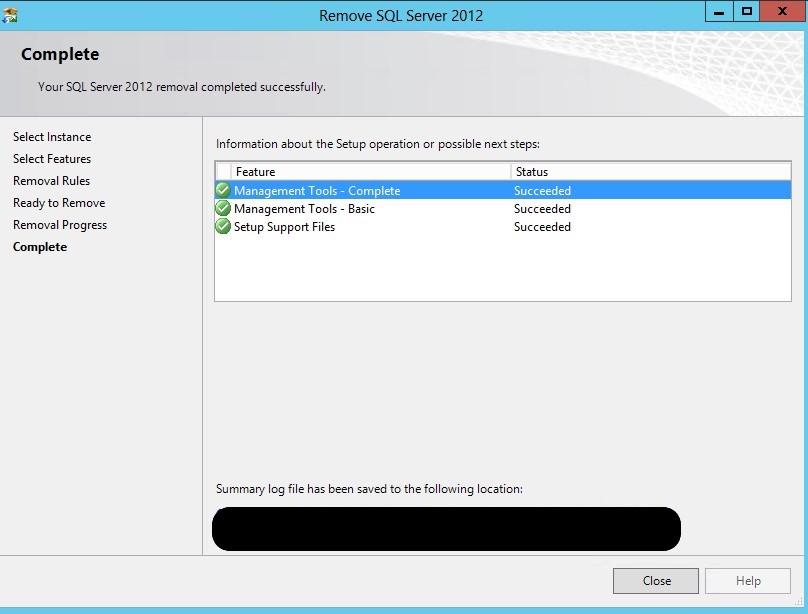
Once completed, a summary of the actions completed are shown and a log file has been saved for further details.
Confirming the Removal
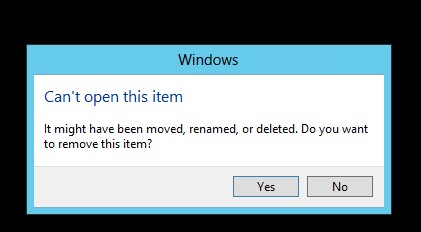
On my systems I had a shortcut for running SSMS 2012. Clicking on this shortcut produces an error message, as that software is no longer available.
And loading the only available SSMS (on my system) shows that it is version 18.4.

Summary
Removing SSMS 2012 isn’t difficult, although slightly unnerving. We removed it because the newer versions of SSMS have more features and additional, Redgate’s SQL Prompt was warning that future versionjs would not support SSMS 2012.
Apart from the issue with the registry key, there appears to have been no problems from this action.

I enjoyed reading your poost